

A leak is rarely a roof problem alone — within a day it becomes an insulation problem, a drywall problem and eventually a mould problem. What you do in the first 24 hours decides whether this is a $400 repair or a $6,000 restoration.
Hour one: contain the water
Water travels. The spot on your ceiling is almost never directly below the hole in the roof — it follows rafters, wiring and ductwork until it finds a low point. Your first job is not to find the source, it is to stop the damage from spreading.
- 01
Move what matters
Clear furniture, electronics and anything fabric out of the room. Wet drywall dust and insulation stain permanently.
- 02
Catch the drip
Buckets under every active drip, towels around the base, plastic sheeting over the floor.
- 03
Relieve the bulge
If the ceiling is sagging or bubbling, puncture the low point with a screwdriver and drain it into a bucket. A controlled hole beats a collapsed ceiling.
- 04
Kill the circuit
If water is anywhere near a light fixture, ceiling fan or outlet, shut that circuit off at the panel before touching anything.
Do not climb up in the rain
Wet shingles and wet metal flashing are genuinely dangerous, and a fall costs far more than an emergency tarp. Everything you need to do in the first hour happens from inside the house.
Hour two: document before you clean up
If this ends up as an insurance claim, the evidence you gather now is worth more than anything you can reconstruct later. Adjusters make decisions from photographs and dates.
- Wide photos of the room, then close-ups of the stain, sagging or dripping point.
- A short video with the sound of the drip and the date visible on your phone.
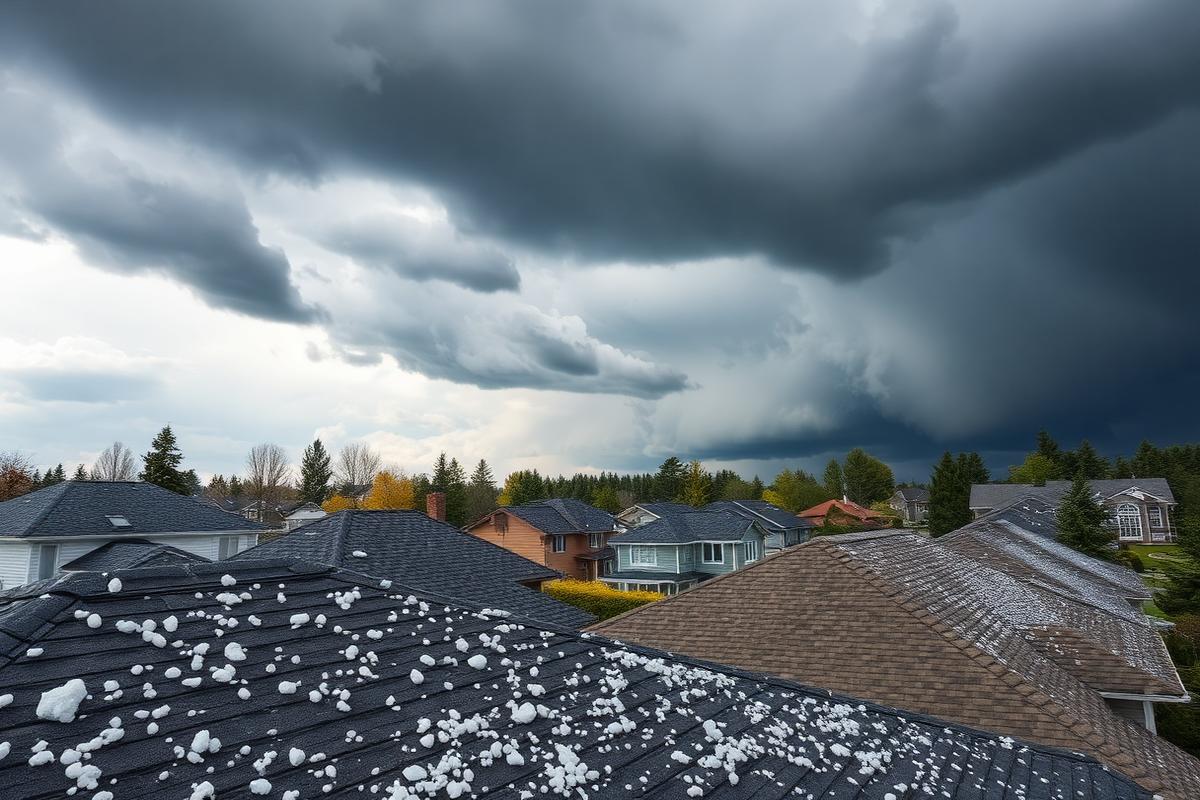
- The weather that day — note the storm, wind speed or hail event.
- Any items that were damaged, photographed before you throw them out.
- Receipts for buckets, tarps, fans or a hotel night if the room is unusable.
Then call your insurer to open a claim number, even if you are not yet sure you will proceed. Opening a file costs nothing and protects the prompt-notice requirement written into every Ontario policy.
Hour three: read the attic
The attic tells you far more than the ceiling does. With a flashlight, trace the wet path uphill along the sheathing and rafters until the staining stops — the entry point is at or above the highest wet spot.
- Dark trails running down a rafter point to a penetration above — a vent, pipe boot or chimney.
- A wide band of frost or condensation across the sheathing is a ventilation problem, not a leak.
- Wet insulation directly under a valley usually means failed valley flashing or ice-and-water shield.
- Daylight visible through the deck is exactly what it looks like.
Roughly nine out of ten leaks we chase in Durham Region start at a penetration or flashing — not in the middle of a shingle field.
Before the next rain: get it tarped
A proper emergency tarp is not a blue sheet held down with bricks. It is run up over the ridge, fastened into solid framing along battens, and lapped so water sheds over the fastener line instead of into it. Done right it will hold through weeks of weather while a permanent repair is scheduled and, if applicable, while your claim is assessed.
Tarping does not hurt your claim
Policies expect you to mitigate further damage. Photograph the roof before the tarp goes on, keep the receipt, and the emergency work is typically reimbursable as part of the claim.
Day two: permanent repair, not a smear of caulk
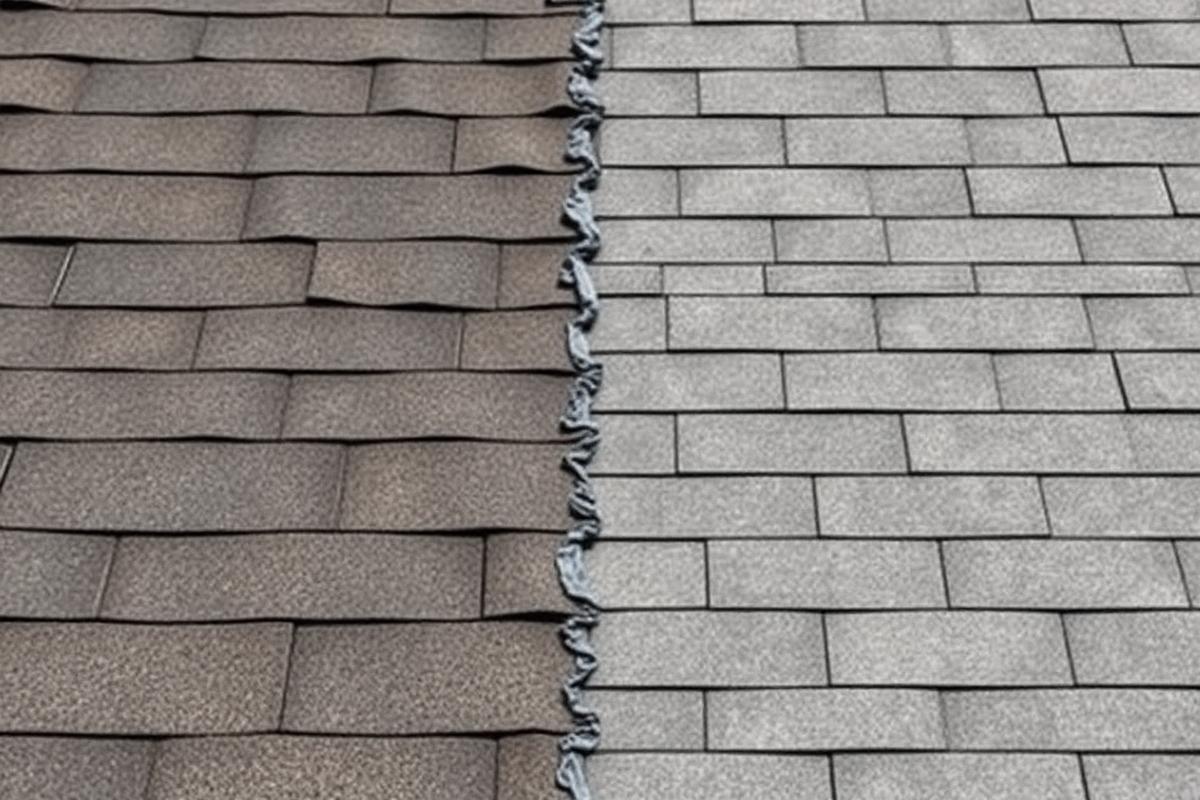
Roof cement over a suspected leak is the single most common thing we have to undo. It hides the failure, traps water against the deck, and turns a flashing repair into a sheathing replacement. A permanent fix means the failed component is removed and rebuilt — new pipe boot, new step flashing, new valley membrane, new shingle courses tied back in.
Ask for a photo report of the repair. You should be able to see the failure, the open assembly and the finished work without ever going on the roof yourself.
What to do next
- Contain and document today; call your insurer to open a file.
- Book an emergency tarp before the next rainfall in the forecast.
- Have the full roof inspected, not only the leak — leaks usually travel with company.
- Keep every photo and receipt in one folder until the claim closes.